Windows workflow · Presentation Builder
Turn a mind map into a PowerPoint presentation
Organize your ideas in one map, then guide your audience through each branch. Follow this product launch example to build a presentation and export a six-slide PowerPoint deck.
Includes the editable Smart MindMap XML project, exported PPTX and a short readme. AI is optional; this example uses no AI model.
Watch the workflow in 84 seconds
English narration and on-screen captions. Recorded in Smart MindMap 1.0.219.0 for Windows; the exported deck is shown in PowerPoint.
Read the video transcript
Take your product launch from a mind map to a PowerPoint presentation. Start with one main topic and four clear branches. This example covers audience, message, deliverables, and next actions.
Open Presentation, then Presentation Builder. Under Create slides from, choose Diagram branches. Smart MindMap creates an overview and a separate view for each branch. Choose Present to preview the sequence. Use the arrow keys to move forward, and press Escape to return.
When you're ready, open Presentation and choose Export to PowerPoint. Save the file, then open it in PowerPoint. This deck has six slides: an editable outline, followed by five diagram views.
You can edit the outline text and table, the summary chart, and each diagram slide's title. The diagram itself is a picture. To change individual topics or connectors, update the original map and export again.
Get the example project and deck from the guide, or start with your own map in Smart MindMap.
One map. A clear presentation sequence.
Organize
Use a central topic and a few focused branches.
Preview
Check the overview and branch slides in Pitch Mode.
Export
Open the PPTX in PowerPoint and review the finished deck.
Step 1
Start with a focused map
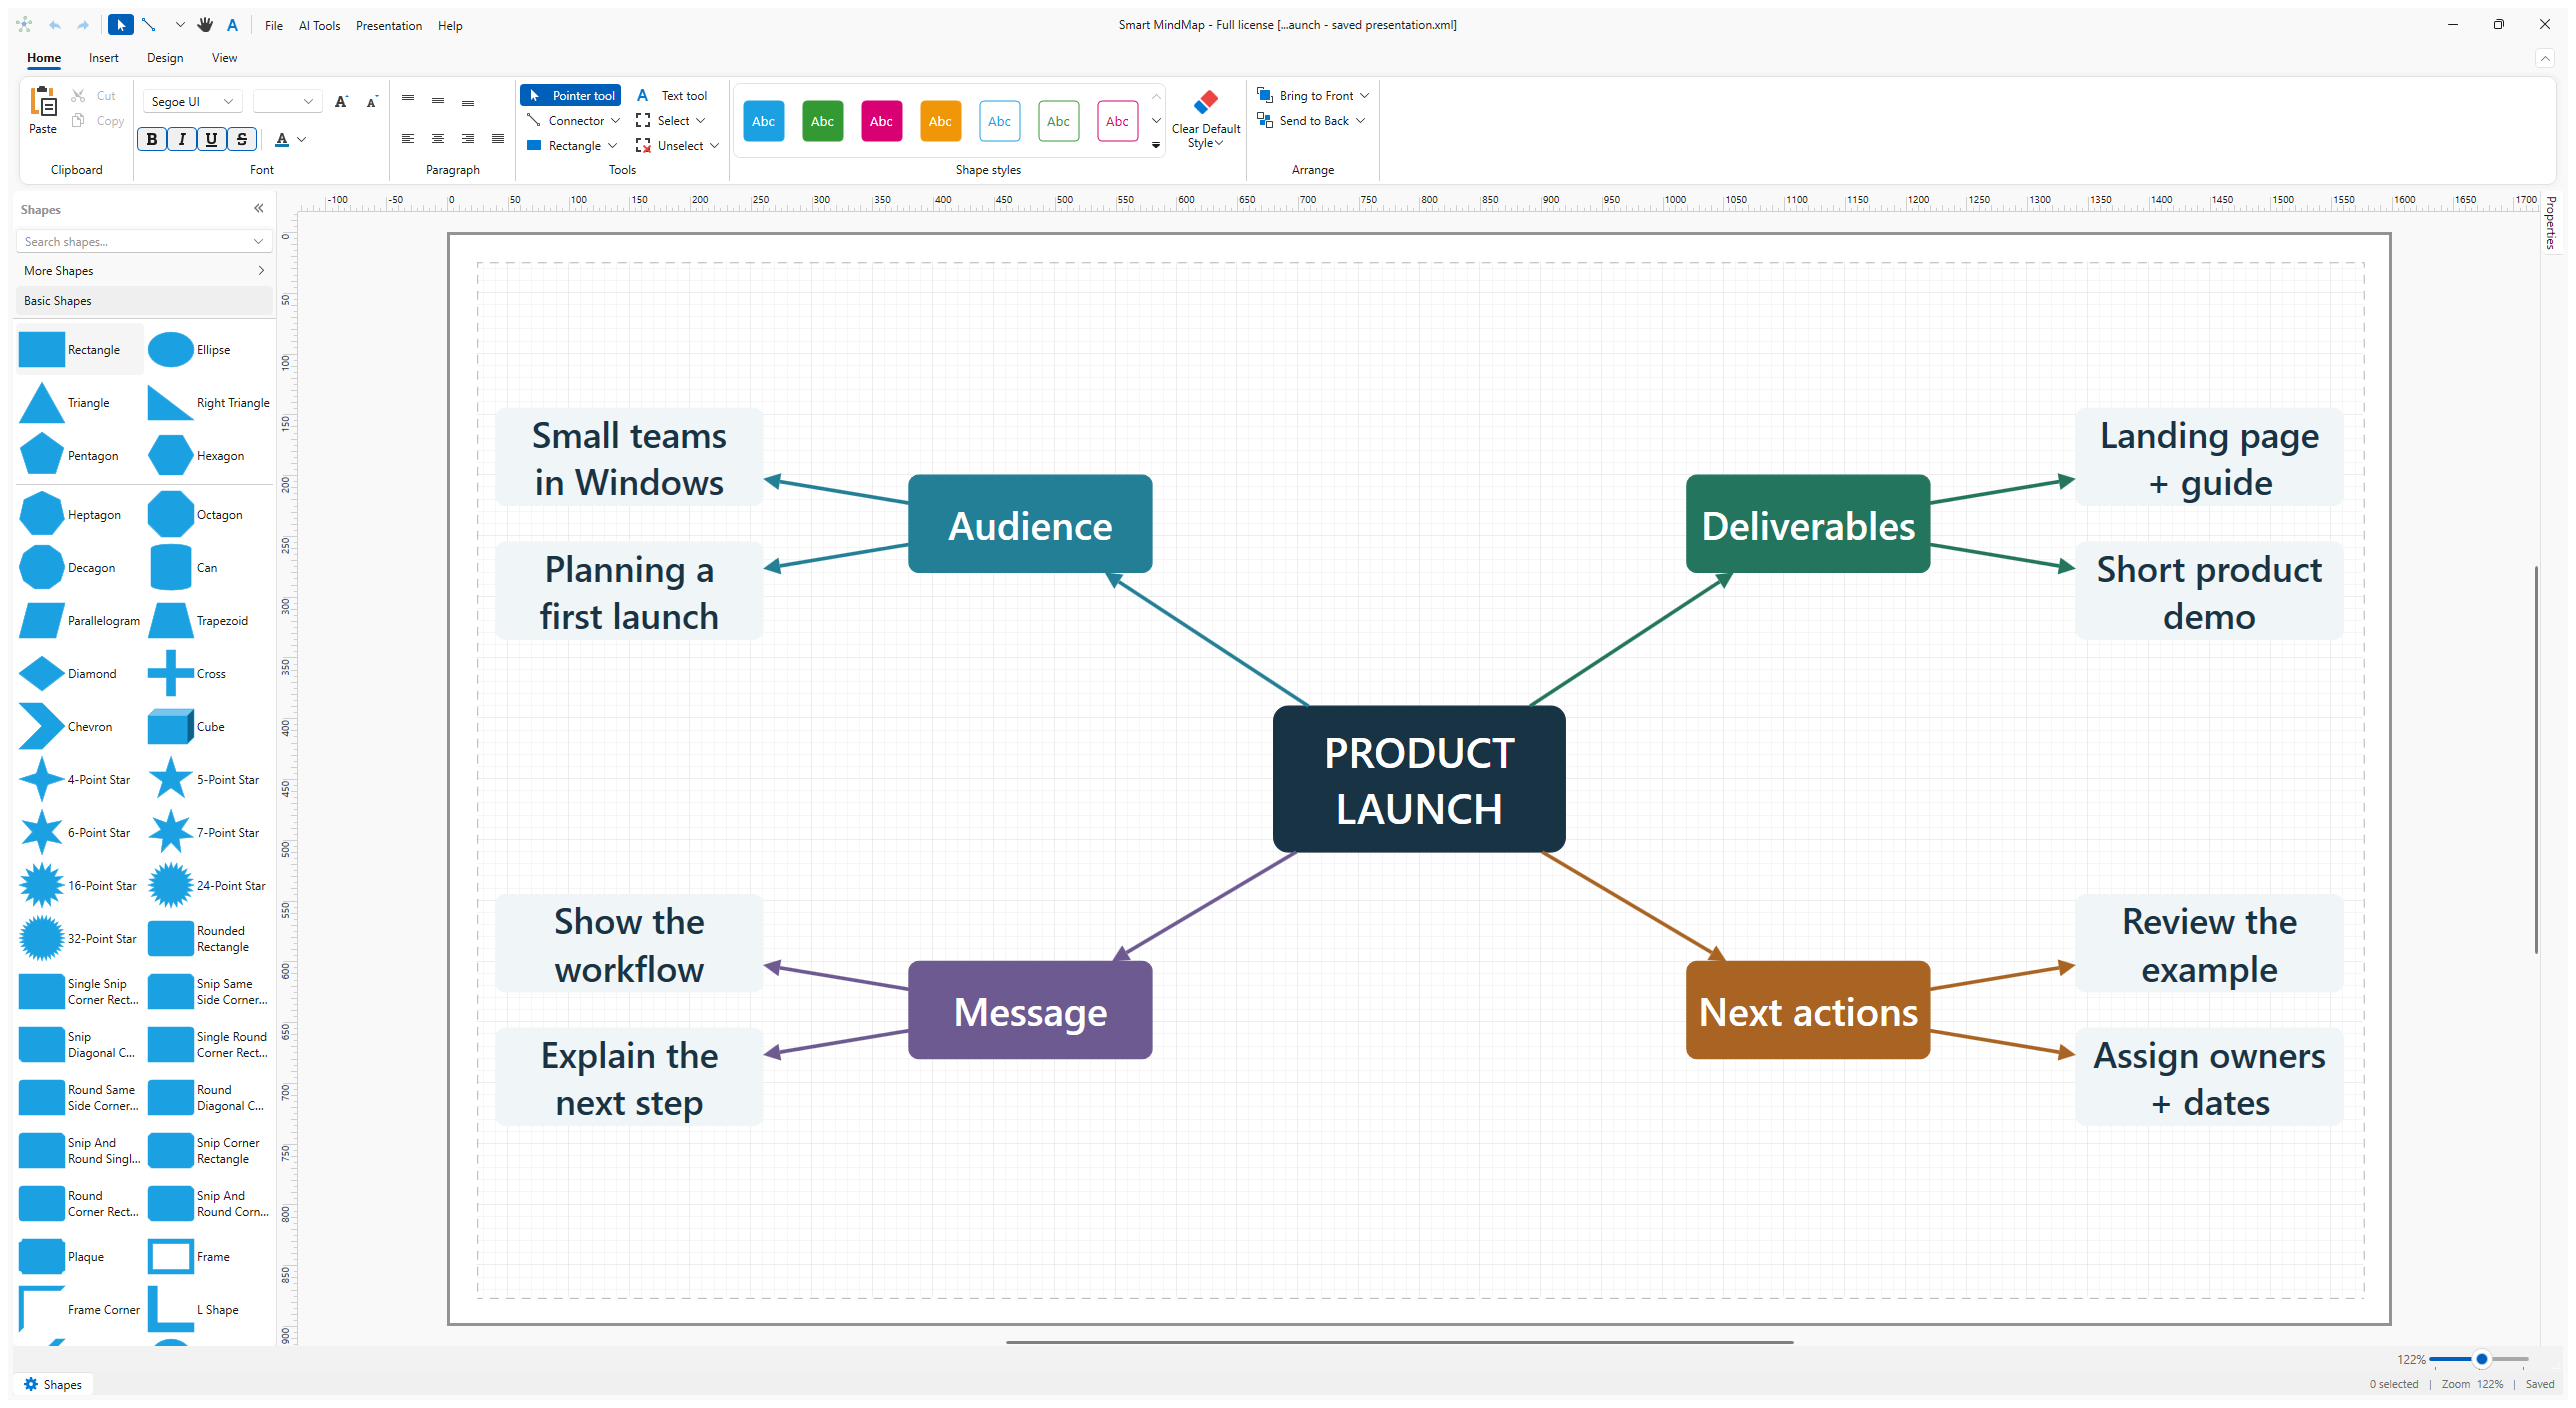
Download and extract the example ZIP. In Smart MindMap, choose File → Open and select Product launch.xml. Work on a copy if you want to keep the original.
The central topic is Product launch. Four branches cover Audience, Message, Deliverables and Next actions, each with two supporting points. You can replace the text with your own project details.
Keep one idea per topic and use short phrases. The overview should explain how the plan fits together; each branch should support one part of the discussion.
Step 2
Build the slides and preview the story
- Open Presentation → Presentation Builder.
- Under Create slides from, choose Diagram branches.
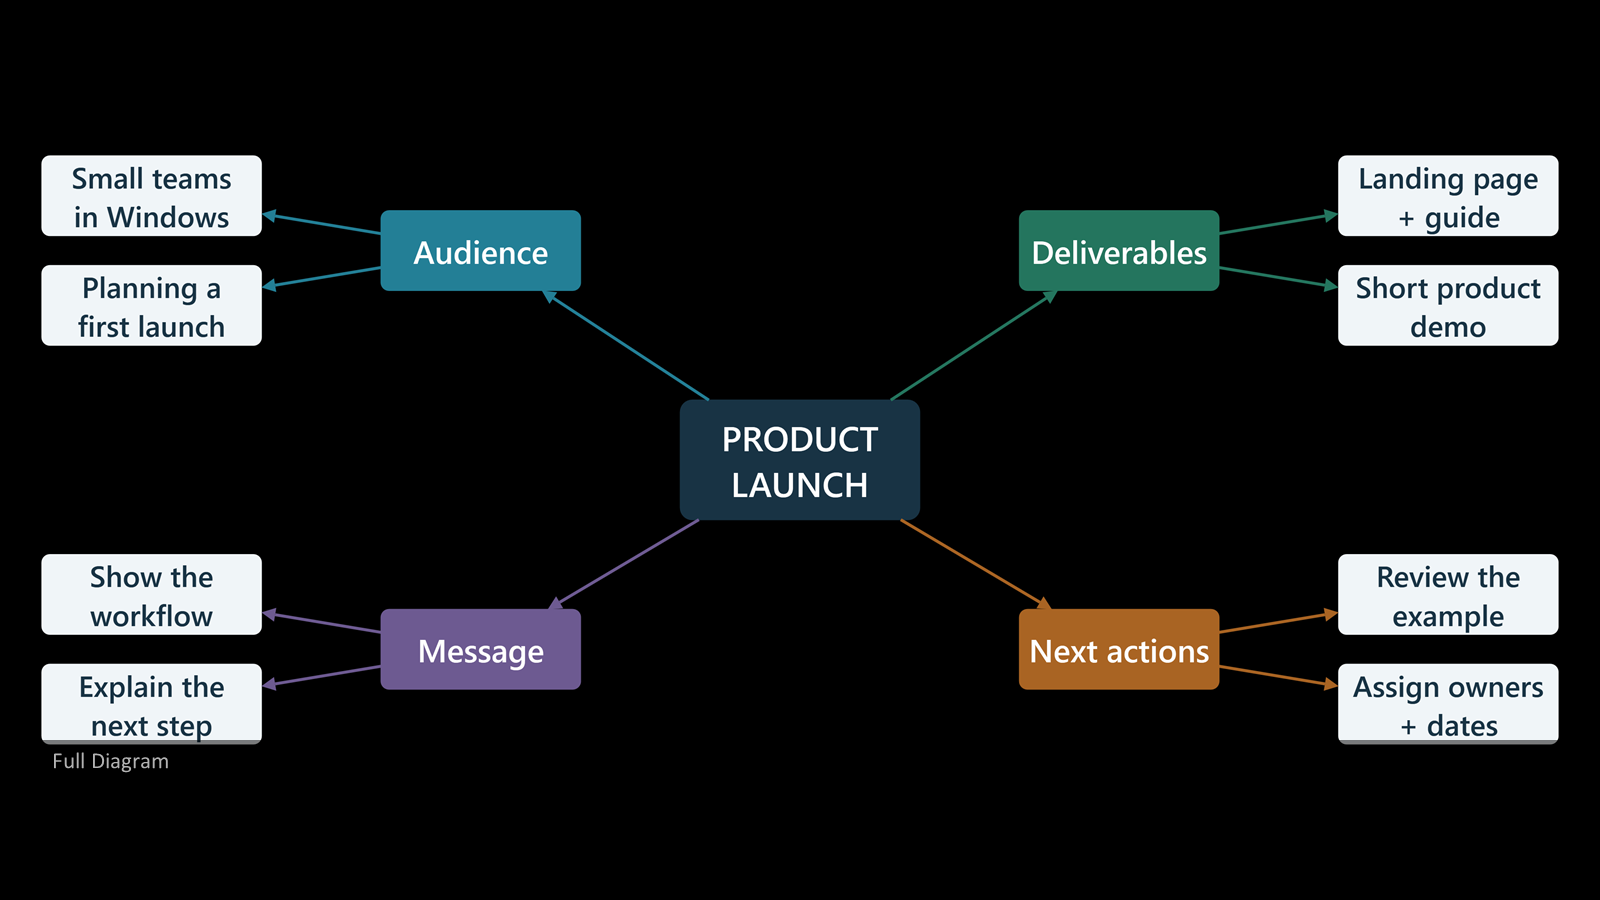
- Choose Present (F5). This example creates an overview and four branch views.
- Use the arrow keys to move through the presentation. Press Esc to return to the editor.
Review the sequence before exporting. Check that the text is readable, each branch has a clear purpose and the views appear in the order you want to discuss them.
Step 3
Export and review the PowerPoint deck
Choose Presentation → Export to PowerPoint (PPTX)…, select a destination and save. Open the file in PowerPoint to check the result.
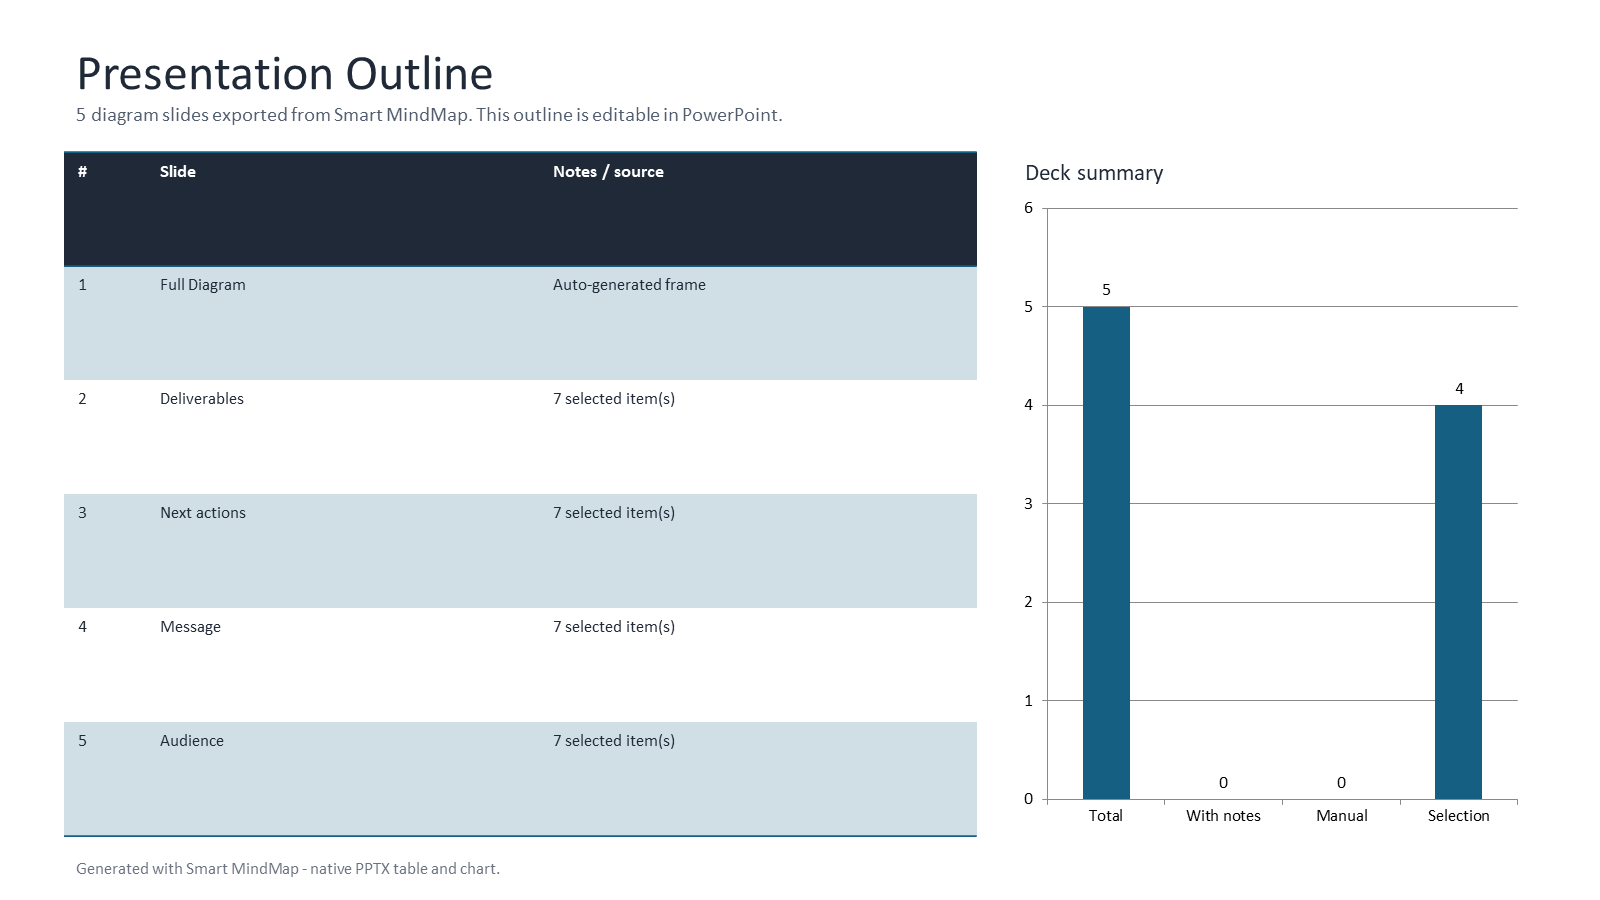
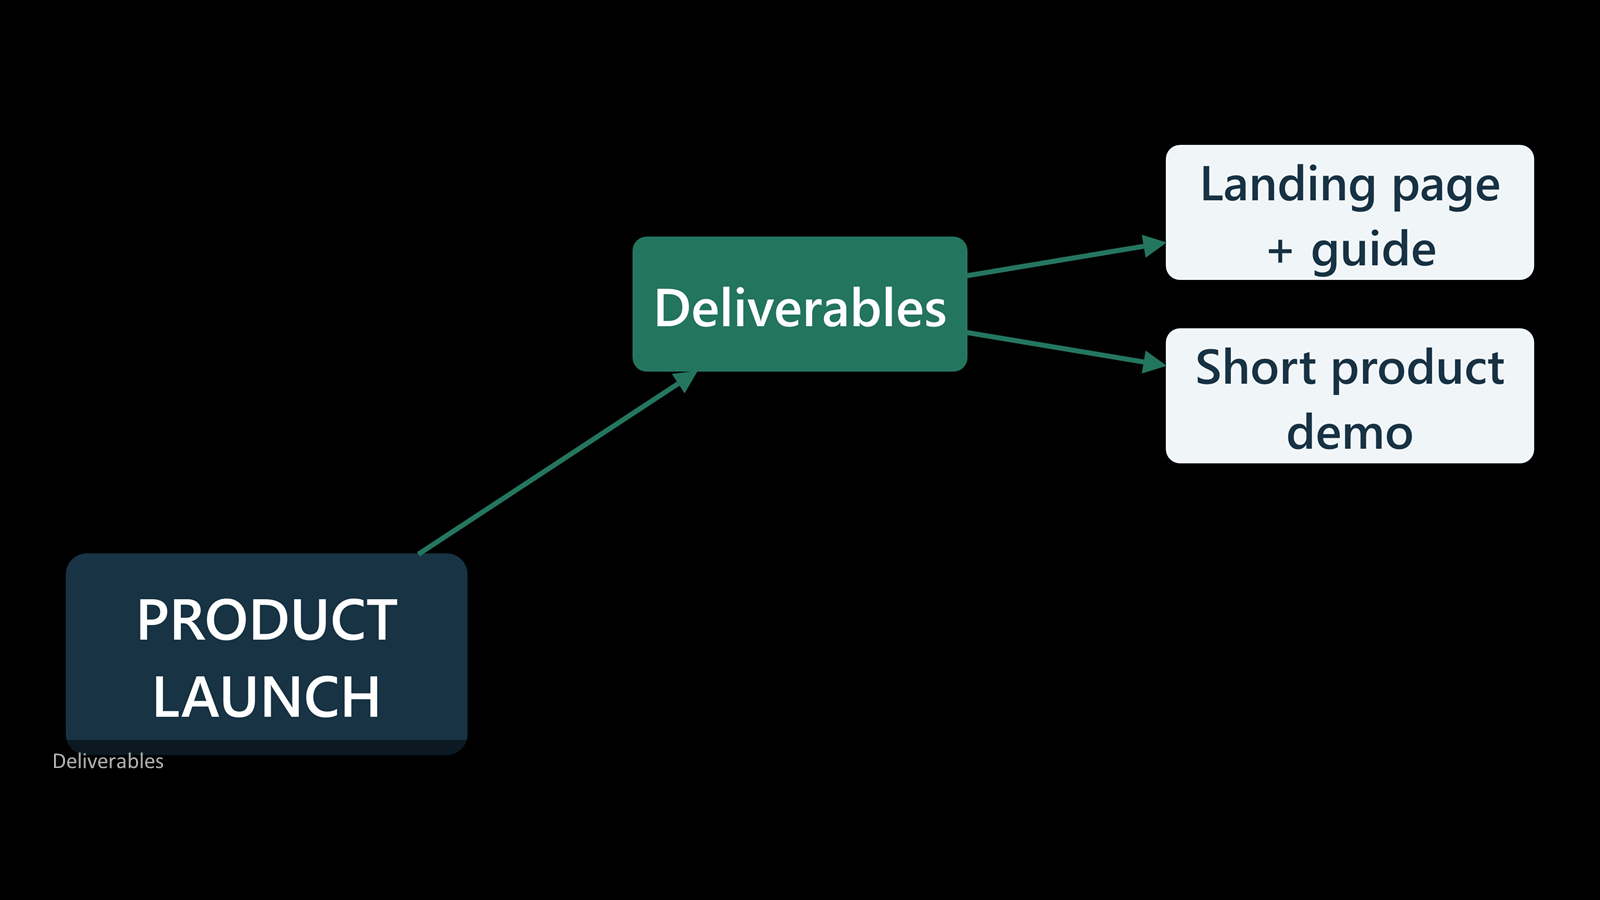
The supplied example contains six slides: an outline with a summary chart, followed by the five diagram views. The outline lists those views from 1 to 5.
What stays editable in PowerPoint?
The export combines editable presentation elements with images of your diagram. Here is what you can change after opening the PPTX.
| Part of the export | What you can change |
|---|---|
| Outline text and table | Edit the text and table cells directly in PowerPoint. |
| Summary chart | A native PowerPoint chart that you can edit. |
| Diagram slide title | A separate text shape that you can edit. |
| Diagram | One picture per slide. Individual topics and connectors are not separate PowerPoint shapes. |
To change a topic, connector or layout, edit the original XML project in Smart MindMap and export again. Keep the XML and PPTX together so the next update starts from your source map.